How to Hang Outdoor String Lights
There’s nothing quite like the warm, inviting glow of string lights to transform an ordinary backyard into a magical evening retreat. Perfect for patio dinners, garden parties, or simply relaxing under the stars, the right lighting creates an unbeatable ambiance.
But a great lighting setup is more than just beautiful—it’s also safe and durable. This comprehensive guide will walk you through everything you need to know, from planning your layout to installing your lights with a professional, long-lasting finish. Let’s get your outdoor oasis glowing!

Step 1: Plan Your Layout and Measure Everything
Before you buy a single bulb, take a moment to plan. Walk through your space and visualize the final look.
- Choose Your Pattern: What style are you going for?
- Zig-Zag/Fan: A classic pattern for open spaces, crisscrossing between anchor points.
- Perimeter: Outline a deck, patio, or fence for a clean, defined look.
- Canopy: Create a “ceiling” of light over a seating area for an immersive, tent-like feel.
- Identify Anchor Points: Where will you attach the lights? Look for sturdy structures like the eaves of your house, mature trees, fence posts, or a pergola. If your desired layout spans an open area, you may need to install posts.
- Measure Your Path: Use a measuring tape to determine the total length needed for your chosen pattern. Always add extra footage to account for draping (sag) and the distance to your power outlet. It’s better to have too much length than not enough!
Step 2: Gather Your Tools & Materials
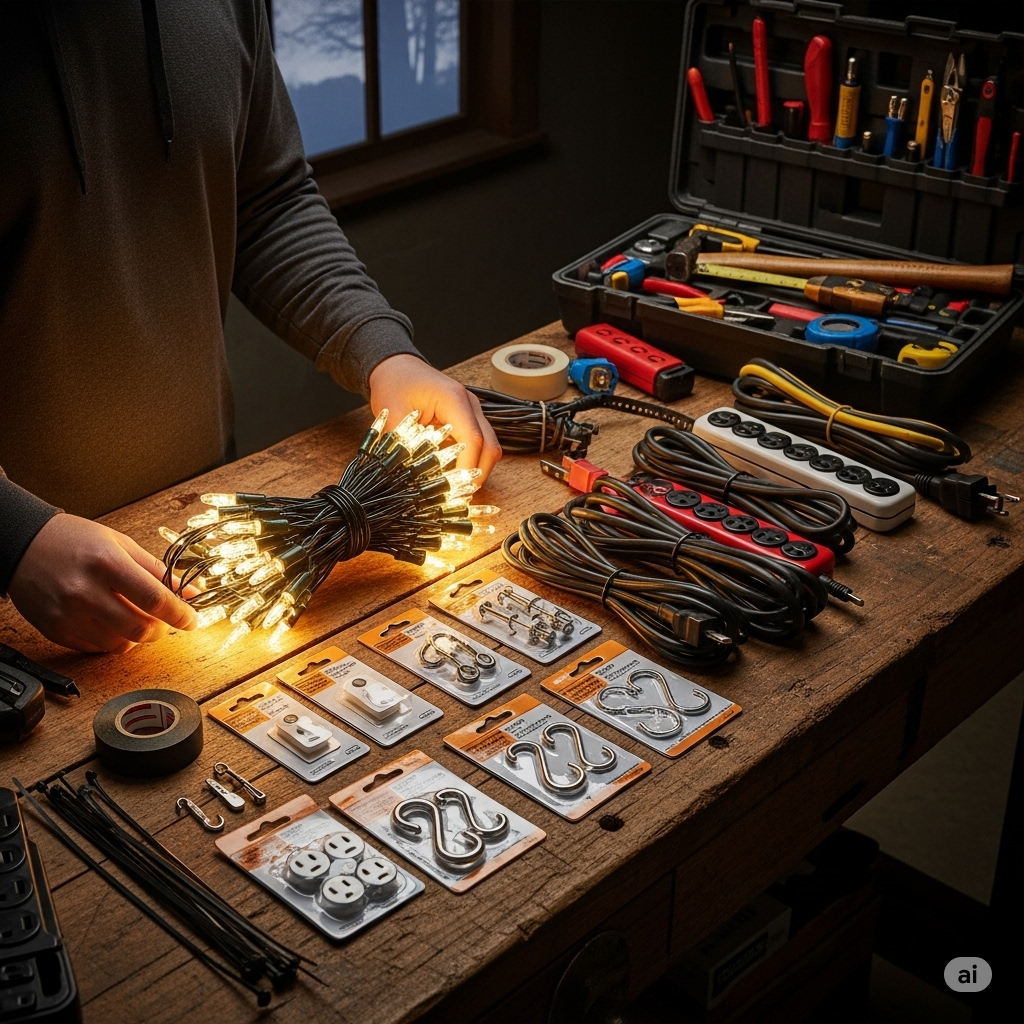
Having everything on hand before you start makes the process smooth and easy. Here’s your checklist:
GFCI Outlet: A non-negotiable safety feature. More on this in Step 4.
Outdoor-Rated String Lights: This is crucial. Only use lights specifically labeled for outdoor use to ensure they can withstand rain, wind, and sun.
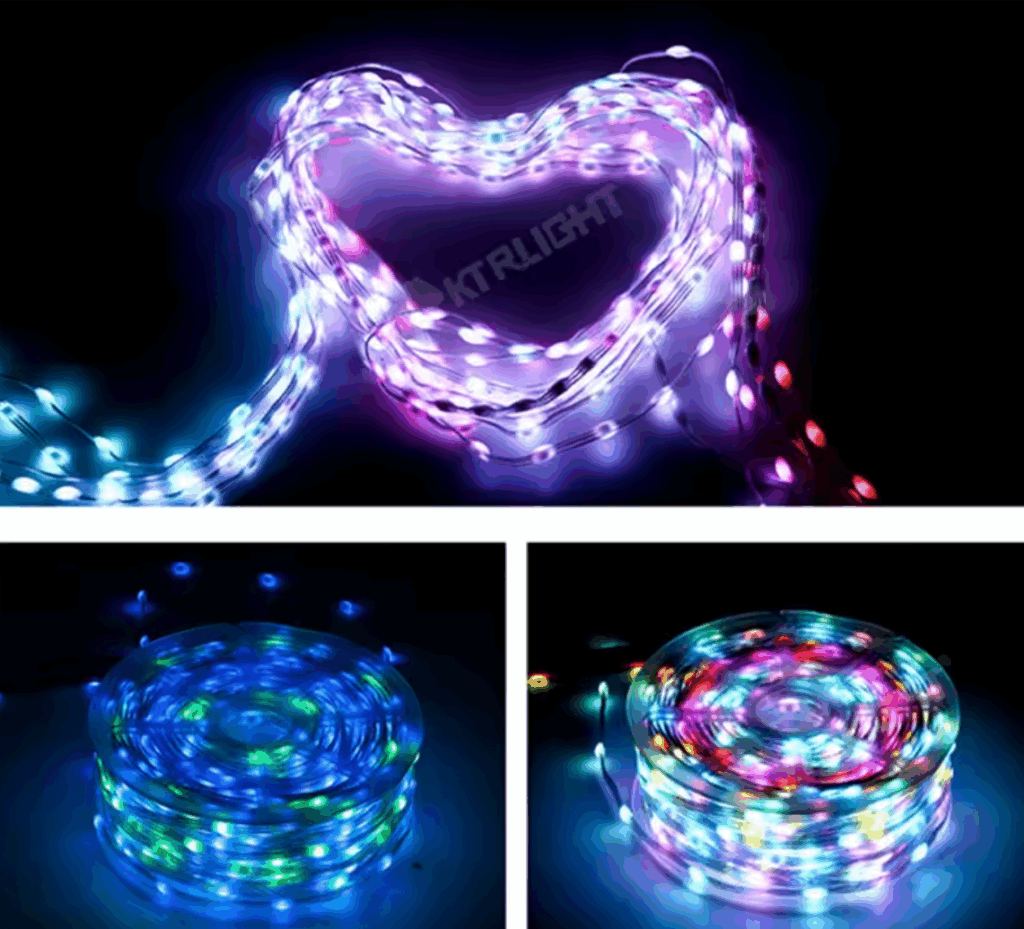
Our Top Pick for Customization: For a truly stunning and versatile display, we highly recommend the KTRLIGHT WS2811 LED Seed Pixel String Lights. Each LED has its own chip, allowing for full color customization and dynamic effects. With an IP68 waterproof rating and a lifespan of over 50,000 hours, they’re built to last in any weather.
Guide Wire Kit (Highly Recommended): The secret to preventing sag and protecting your investment is a guide wire. For any span over 20-25 feet, or for heavier commercial lights, a support wire is essential. It bears all the tension and weight, so your light’s cord doesn’t have to.
The Perfect All-in-One Kit: We recommend the TGODRVC 304 Stainless Steel Black Vinyl Coated Wire Rope Kit. This kit is a fantastic value, providing 600 feet of durable, corrosion-resistant stainless steel wire and even includes the necessary wire cutters. It has everything you need to create a secure, professional-looking installation.
Anchor Hardware: You’ll need hooks to attach your guide wire and lights to your anchor points.
For wood (house eaves, posts, pergolas): Screw-in eye hooks or cup hooks.
For trees: Use eye hooks, but consider a “tree-saver” strap to protect the bark.
Fasteners: To attach the light string to the guide wire. Zip ties, S-hooks, or carabiner clips work perfectly.
Ladder: A sturdy, stable ladder to safely reach your anchor points.
Drill (Optional): For pre-drilling pilot holes for your screw hooks, which prevents wood from splitting.
Outdoor-Rated Extension Cord: If your lights can’t reach the outlet, make sure your extension cord is rated for outdoor use.

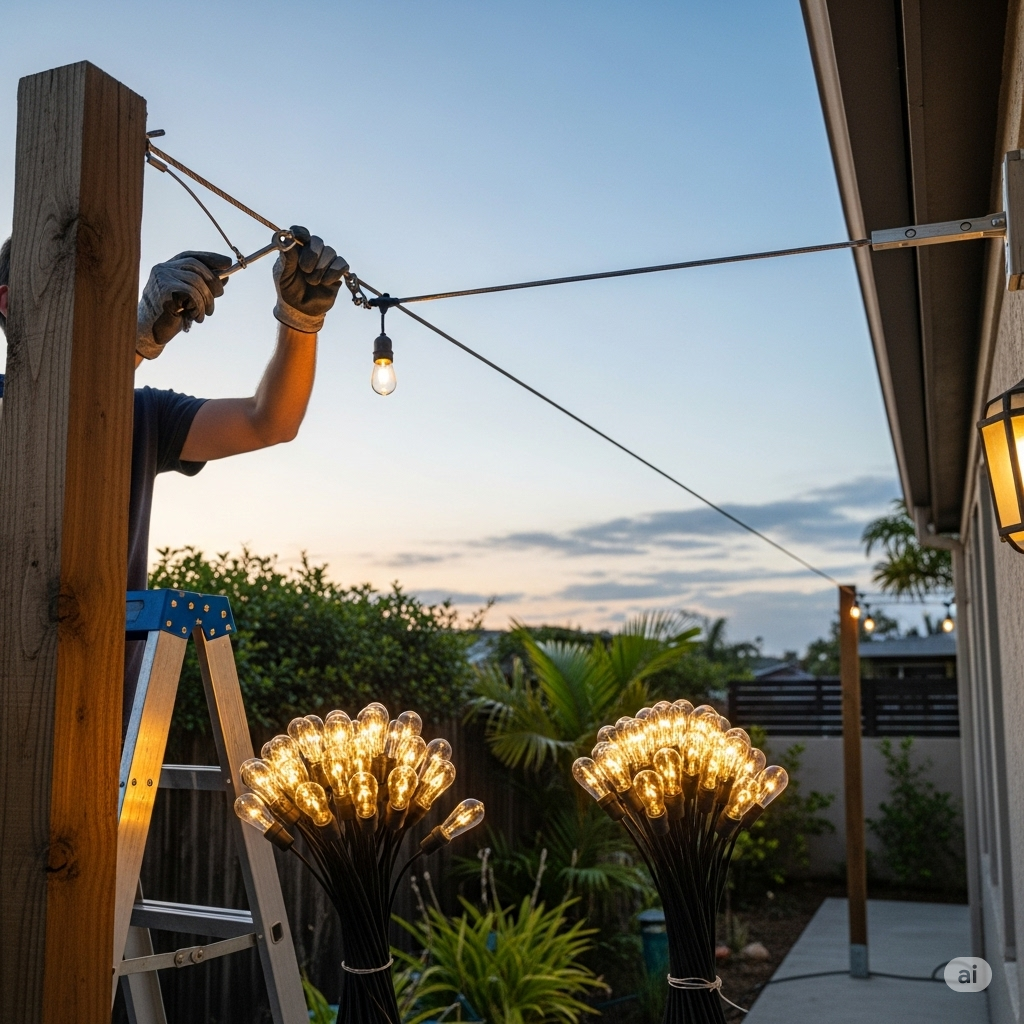
Step 3: Install Your Lights (The Right Way)
With your plan and materials ready, it’s time to hang your lights. For the best results, follow this order.
3A. Install the Anchor Hardware
Securely install your eye hooks or other fasteners into your chosen anchor points (house, trees, posts). If drilling into wood, create a small pilot hole first to make screwing the hook in easier and prevent splitting.
3B. String and Tighten the Guide Wire
Attach one end of your guide wire to your first anchor point. Unspool the wire and run it along the path you planned, threading it through each hook. At the final anchor point, pull the wire as taut as possible before securing it. Use the turnbuckles and clamps included in the TGODRVC kit to remove any remaining slack. A tight guide wire is the key to a clean, professional look.
[Image: A close-up shot showing a guide wire being tightened with a turnbuckle attached to an eye hook.]
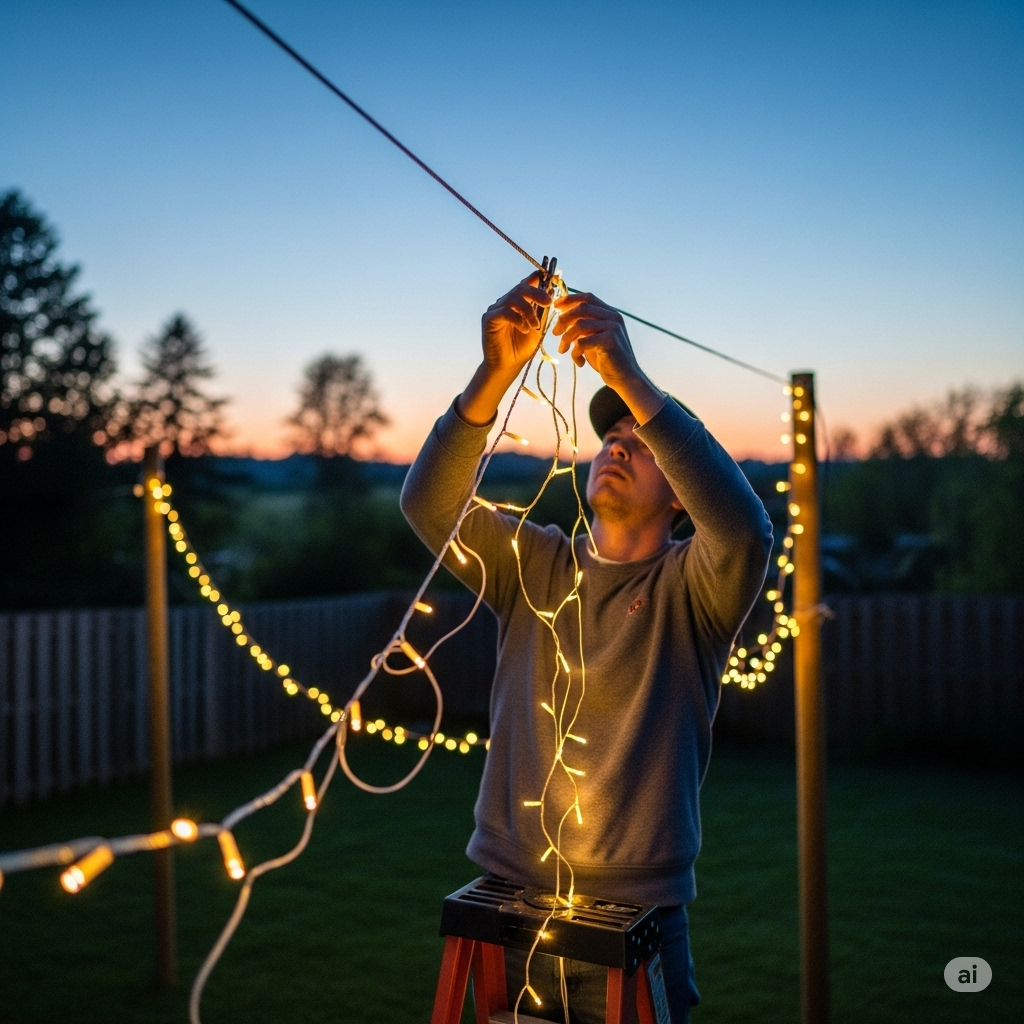
3C. Attach the String Lights
Starting near your power outlet, begin attaching your string lights to the taut guide wire.
- Safety First: Lay the lights out on the ground first to ensure they are untangled and all bulbs are working before you hang them.
- Use the Mounting Loops: Never hang the lights by the main electrical cord itself. Use the small, reinforced loops located above each bulb.
- Fasten Securely: Use a zip tie, S-hook, or carabiner at each mounting loop to clip the light string onto the guide wire. This ensures the guide wire, not the light’s cord, is supporting the weight.
Step 4: Power Up Safely
Connecting to power correctly is the most important safety step.
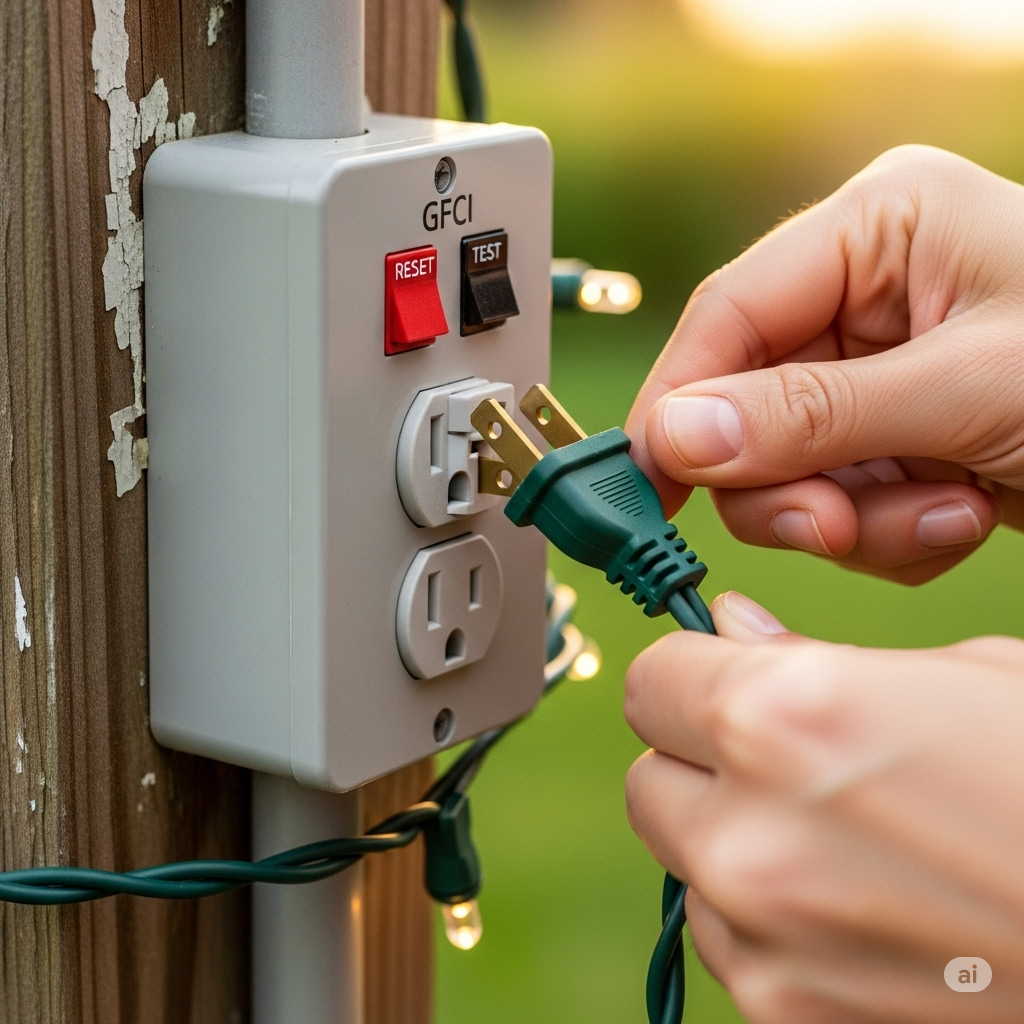
- ALWAYS Use a GFCI Outlet: Plug your lights into a Ground Fault Circuit Interrupter (GFCI) outlet. These outlets are designed to prevent electric shock by automatically shutting off power if they detect a fault. If your outdoor outlet doesn’t have a “TEST” and “RESET” button, it’s likely not a GFCI. Have a qualified electrician install one.
- Protect Your Connections: If you’re using an extension cord, make sure the connection point between the light plug and the extension cord is shielded from rain and puddles. You can buy specialized weatherproof connection covers for this.
Step 5: Power Up Safely with a GFCI Outlet
This is a non-negotiable safety step. Always plug your outdoor string lights into a Ground Fault Circuit Interrupter (GFCI) outlet. GFCI outlets are designed to quickly shut off power if they detect a ground fault, significantly reducing the risk of electrical shock. If you don’t have one, have a qualified electrician install one.
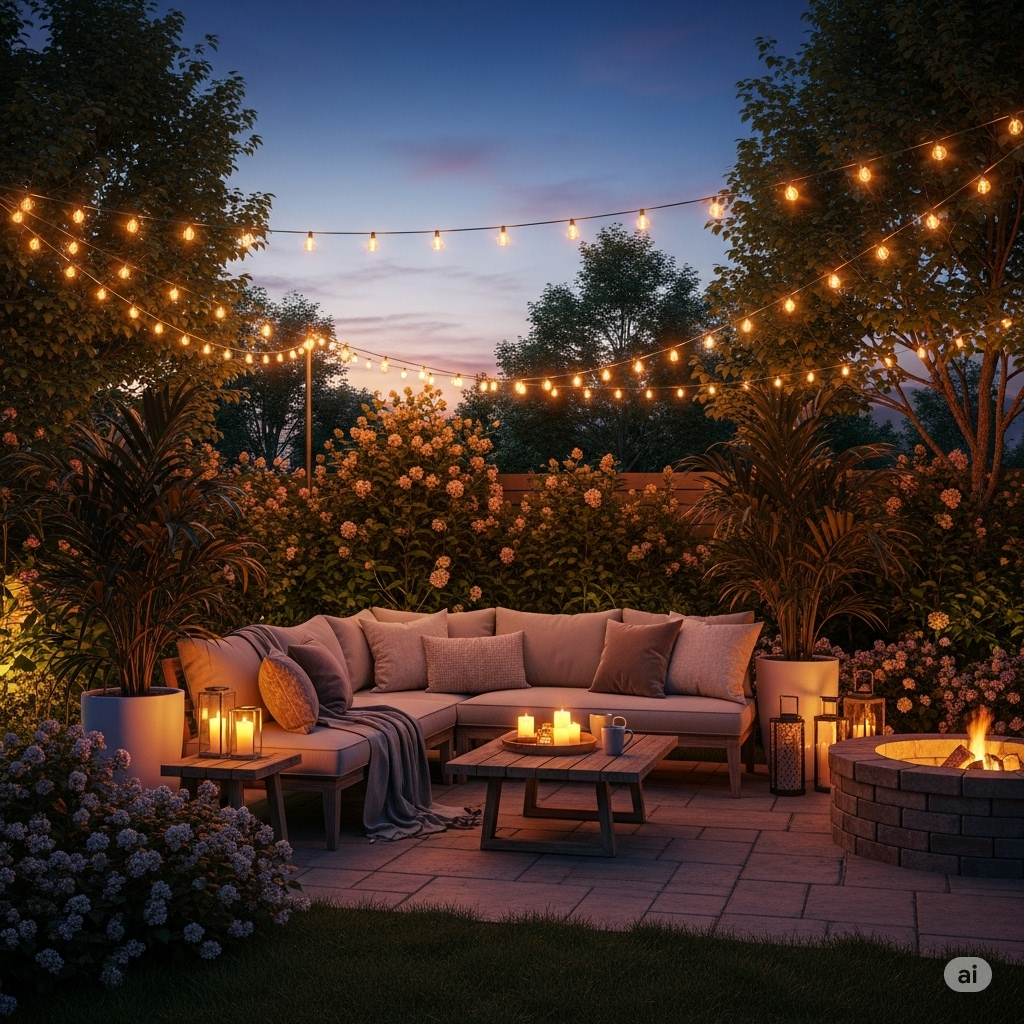
Step 6: Step Back, Relax, and Enjoy Your Illuminated Oasis!
Congratulations! You’ve safely installed your outdoor string lights. Now it’s time to sit back and enjoy the magical atmosphere you’ve created in your backyard. Your outdoor space is now ready for memorable evenings.
Frequently Asked Questions (FAQ)
Q: Do I really need a guide wire? A: For spans under 20 feet with lightweight lights, you can sometimes get away without one. However, for any longer span, for heavier lights, or for a permanent installation, a guide wire is highly recommended. It prevents sagging, reduces strain on the cord, and dramatically extends the life of your lights.
Q: Can I leave my string lights up all year? A: Yes, if you buy high-quality, commercial-grade lights rated for all-weather use, like the KTRLIGHT WS2811 LEDs with their IP68 rating. Also, using a guide wire helps them withstand wind and snow loads.
Q: How high should I hang my string lights? A: A good rule of thumb is to hang them at least 8-10 feet high, especially in areas where people will be walking. This provides clearance while still creating a cozy, intimate feel.
Ready to transform your backyard?
The right lights make all the difference. For a durable, versatile, and stunningly customizable lighting solution, get the KTRLIGHT WS2811 LED Seed Pixel String Lights. With their individual pixel control, waterproof design, and easy customization, they are the perfect choice for creating a professional and enchanting outdoor lighting display.
Click the link below to purchase your lights and start your backyard transformation today!